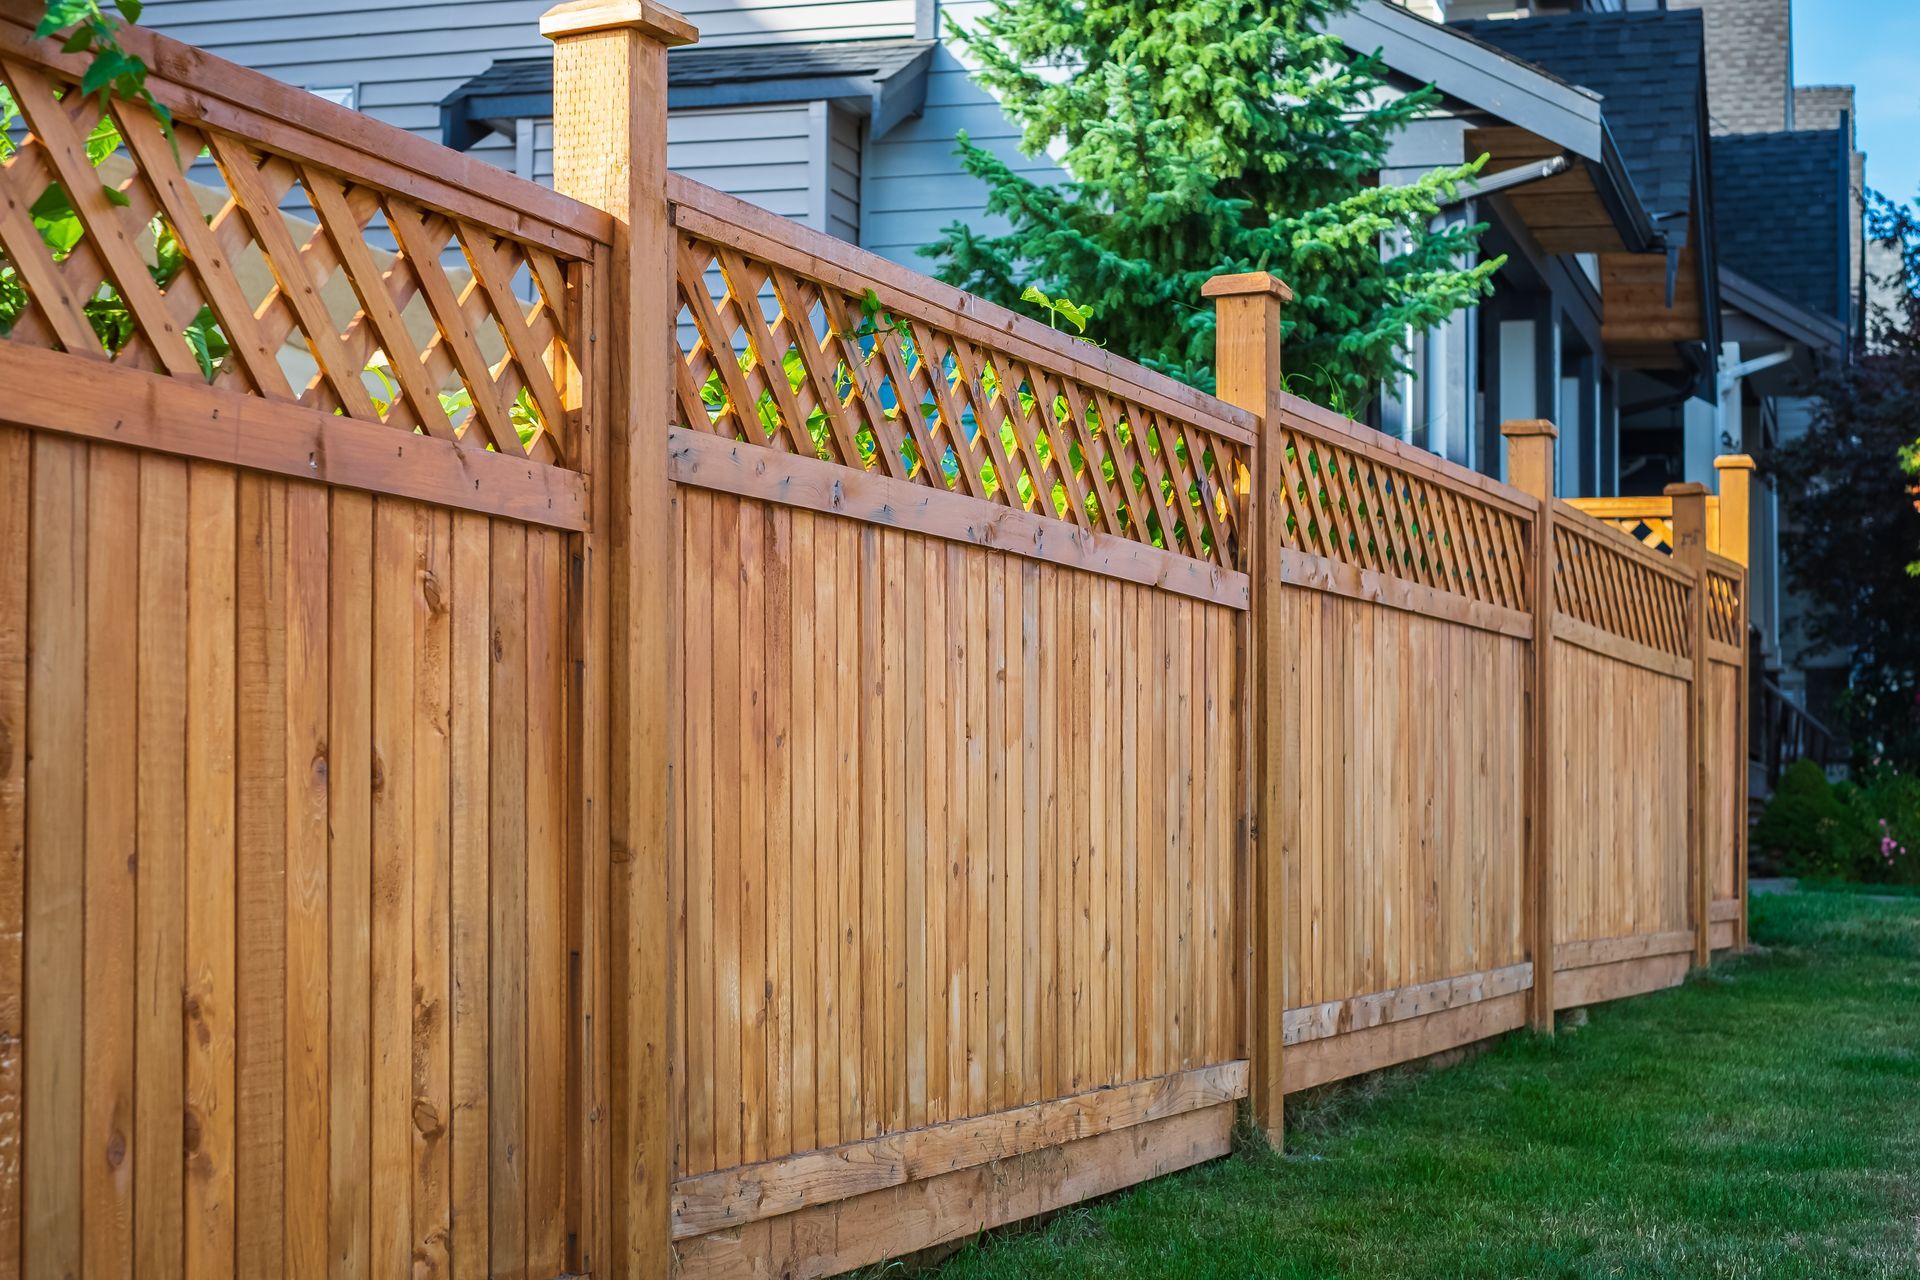
How to Repair a Split or Broken Wooden Fence Post

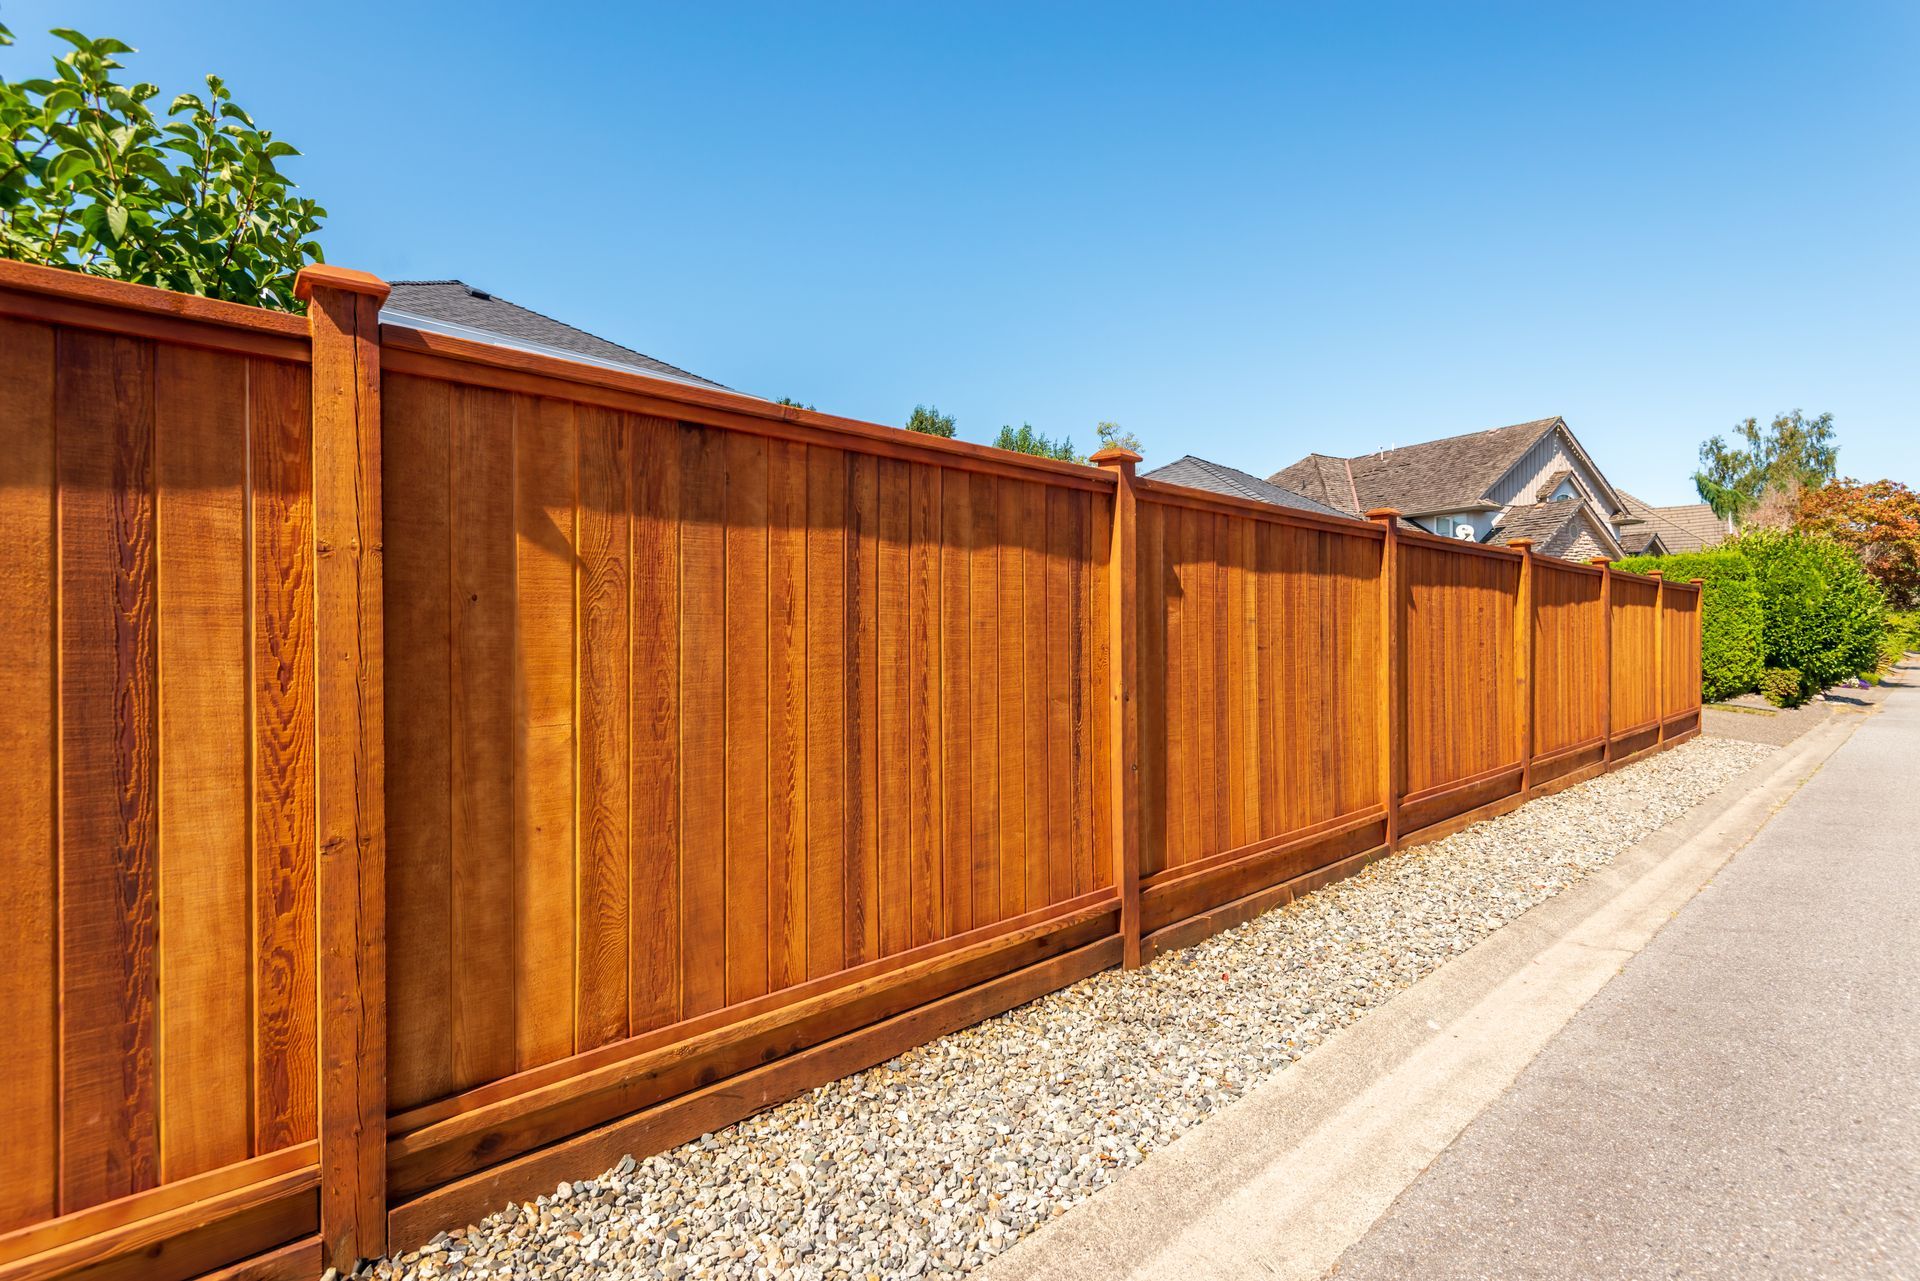
Wooden fences are a charming and functional addition to many homes in London, Ontario. However, over time, even the most well-built fences can suffer damage, especially wooden fence posts. A split or broken post can compromise the entire structure of your fence, leading to sagging, leaning, or even collapse. Fortunately, with the right approach, you can repair a damaged post and restore the integrity of your fence. In this guide, we’ll walk you through the steps for repairing a split or broken wooden fence post.
Why Do Wooden Fence Posts Split?
Before diving into the repair process, it’s important to understand why wooden fence posts might split in the first place. The most common reasons include:
- Weather Exposure: Rain, snow, and fluctuating temperatures cause wood to expand and contract, leading to cracks or splits.
- Rotting: Over time, moisture can cause the wood to decay, especially at the base where the post meets the ground.
- Insect Damage: Termites or other pests can weaken the wood structure, making it prone to splitting.
- Physical Damage: Impact from vehicles, heavy objects, or animals can cause posts to break or crack.
Knowing the cause of the split will help prevent future damage and guide you in selecting the right materials for repair.
Tools and Materials You’ll Need
To repair a split or broken fence post, gather the following tools and materials:
- Replacement post (if the original is beyond repair)
- Post hole digger or shovel
- Gravel for drainage
- Concrete mix for securing the post
- Hammer or sledgehammer
- Galvanized nails or screws
- Level
- Wood glue or epoxy (for minor splits)
- Wooden stakes and rope (for support)
Step-by-Step Guide to Repairing a Split or Broken Fence Post
1. Evaluate the Damage
Start by inspecting the fence post to determine if it can be repaired or if it needs to be replaced entirely. If the post is split but still structurally sound, it can often be repaired with wood glue or epoxy. However, if the post is rotted or severely damaged, replacement is the best option.
2. Remove the Damaged Post (If Necessary)
If the post needs to be replaced, you’ll have to remove it from the ground. Use a shovel or post hole digger to loosen the soil around the base of the post. Once the soil is loose, carefully pull the post out of the hole. If it’s set in concrete, you may need to break up the old concrete before removing the post.
3. Prepare the New Post or Repair the Split
- For minor splits: If the damage is minor, use wood glue or epoxy to bond the split back together. Apply the adhesive into the crack, then clamp the post or secure it with screws to hold the split closed until the glue sets. This method works well for smaller splits where the integrity of the post is still intact.
- For a replacement post: If the post needs to be replaced, measure the length of the old post and cut a new one to match. Make sure to treat the new post with a wood preservative to protect against future rot.
4. Dig a New Hole (If Necessary)
Once the damaged post is removed, dig a new hole that’s at least 1/3 the height of the post to ensure stability. If you’re replacing a post in the same spot, make sure the hole is deep enough and clear of any old debris.
5. Install the New or Repaired Post
- Place the new or repaired post into the hole. Add a layer of gravel at the bottom to improve drainage and prevent water from pooling around the base, which can cause rot.
- Use a level to make sure the post is standing straight.
- Fill the hole with concrete or tightly packed soil to secure the post in place. If using concrete, allow it to set according to the manufacturer's instructions before proceeding.
6. Brace the Post for Stability
To keep the post upright while the concrete sets, use wooden stakes and rope to brace the post. Drive the stakes into the ground on either side of the post, and tie the rope around the stakes and post to hold it in place.
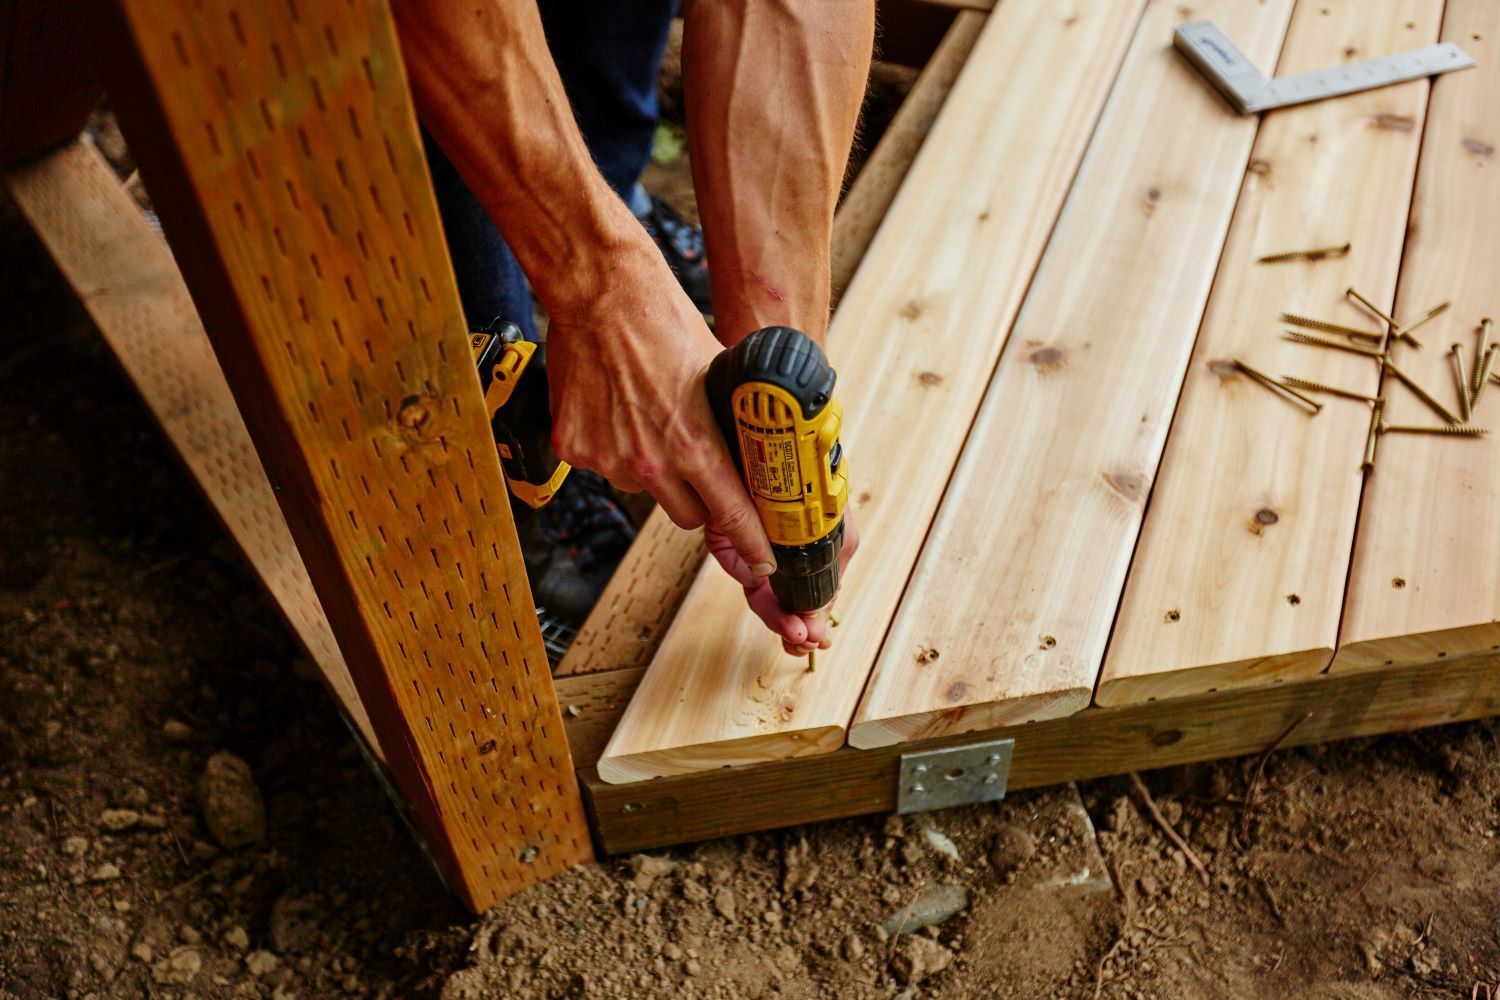
7. Reattach the Fence Panels
Once the post is secure and the concrete has set, reattach the fence panels to the post using galvanized nails or screws. Make sure everything is level and aligned with the rest of the fence.
Tips for Preventing Future Damage
- Regular Inspection: Regularly inspect your fence for signs of wear, rot, or damage. Catching issues early can prevent costly repairs down the line.
- Seal and Treat the Wood: Use a wood preservative or sealant to protect the posts from moisture and insects.
- Good Drainage: Ensure proper drainage around the base of the post by adding gravel or sand to the bottom of the hole.
When to Call a Professional
While DIY fence repair is possible, some situations call for professional assistance. If your fence has multiple damaged posts, or if you’re unsure about removing and replacing posts on your own, a professional fencing contractor can ensure the job is done right. At Deck and Fence London, we specialize in fence repairs and replacements, ensuring your fence stays strong, attractive, and secure for years to come.
By following these steps, you can effectively repair a split or broken wooden fence post and extend the life of your fence. Whether you're dealing with minor splits or major damage, taking the time to properly repair and maintain your fence will protect your investment and enhance the look of your property.