How to Replace Deck Boards & Repair Your Deck
A well-maintained deck can be the perfect outdoor space for relaxing, entertaining, and enjoying the beauty of your yard. Over time, however, deck boards can become worn, damaged, or unsafe. At Deck and Fence London, we specialize in deck repairs and replacements to help keep your outdoor space in top condition. In this guide, we'll walk you through the process of replacing deck boards and repairing your deck.
Why Replace Deck Boards?
Deck boards can suffer from a variety of issues, including:
- Rot and Decay: Moisture can lead to wood rot, compromising the structural integrity of your deck.
- Cracks and Splinters: Regular use and weathering can cause boards to crack and splinter, creating safety hazards.
- Warping and Cupping: Changes in temperature and humidity can cause wood to warp or cup, making the surface uneven.
- Discoloration and Stains: Sunlight, rain, and spills can lead to unsightly discoloration and stains.
Replacing damaged or worn-out boards not only improves the appearance of your deck but also ensures it remains safe and functional.
Tools and Materials Needed
Before you start, gather the following tools and materials:
- Pry bar
- Circular saw
- Drill and screwdriver
- Measuring tape
- Carpenter's square
- Replacement deck boards
- Deck screws or nails
- Safety glasses and gloves
- Wood sealant or stain (optional)
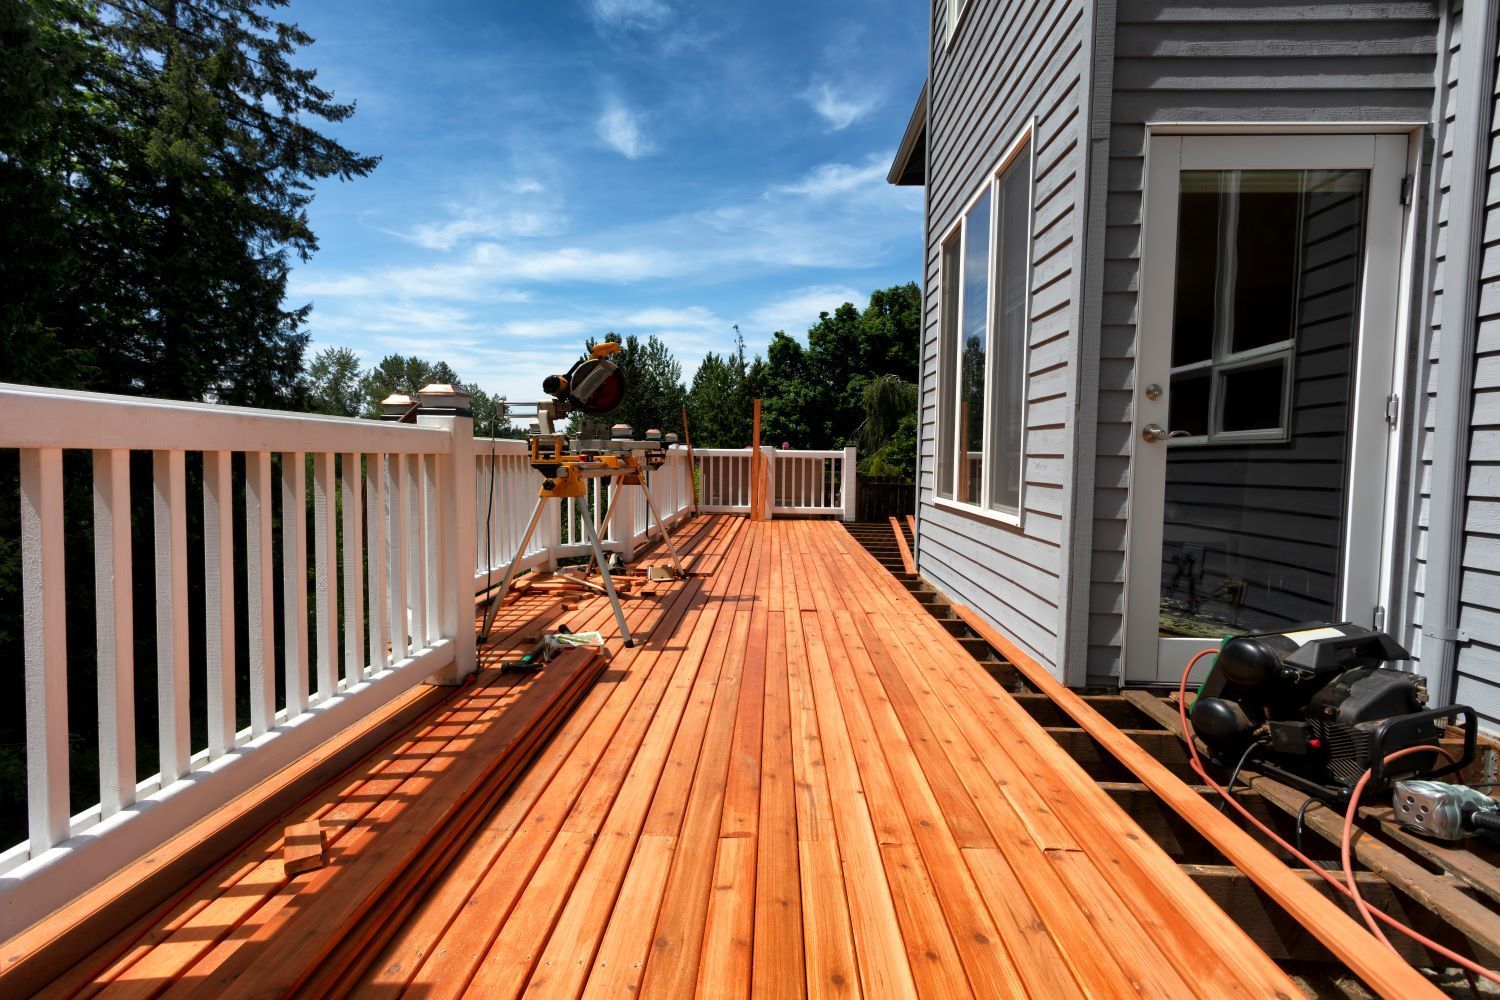
Step-by-Step Guide to Replacing Deck Boards
1. Inspect and Identify Damaged Boards
Begin by thoroughly inspecting your deck to identify which boards need replacement. Look for signs of rot, cracks, splinters, and warping. Mark the damaged boards with chalk or tape for easy identification.
2. Remove the Damaged Boards
Use a pry bar to lift the damaged boards from the deck frame. Be careful not to damage the adjacent boards or the frame itself. If the boards are secured with screws, use a drill to remove them. For nails, gently pry them out with the pry bar.
3. Measure and Cut Replacement Boards
Measure the length of the boards you need to replace. Use a circular saw to cut the replacement boards to the appropriate length. Ensure your cuts are straight by using a carpenter's square to mark the cut line.
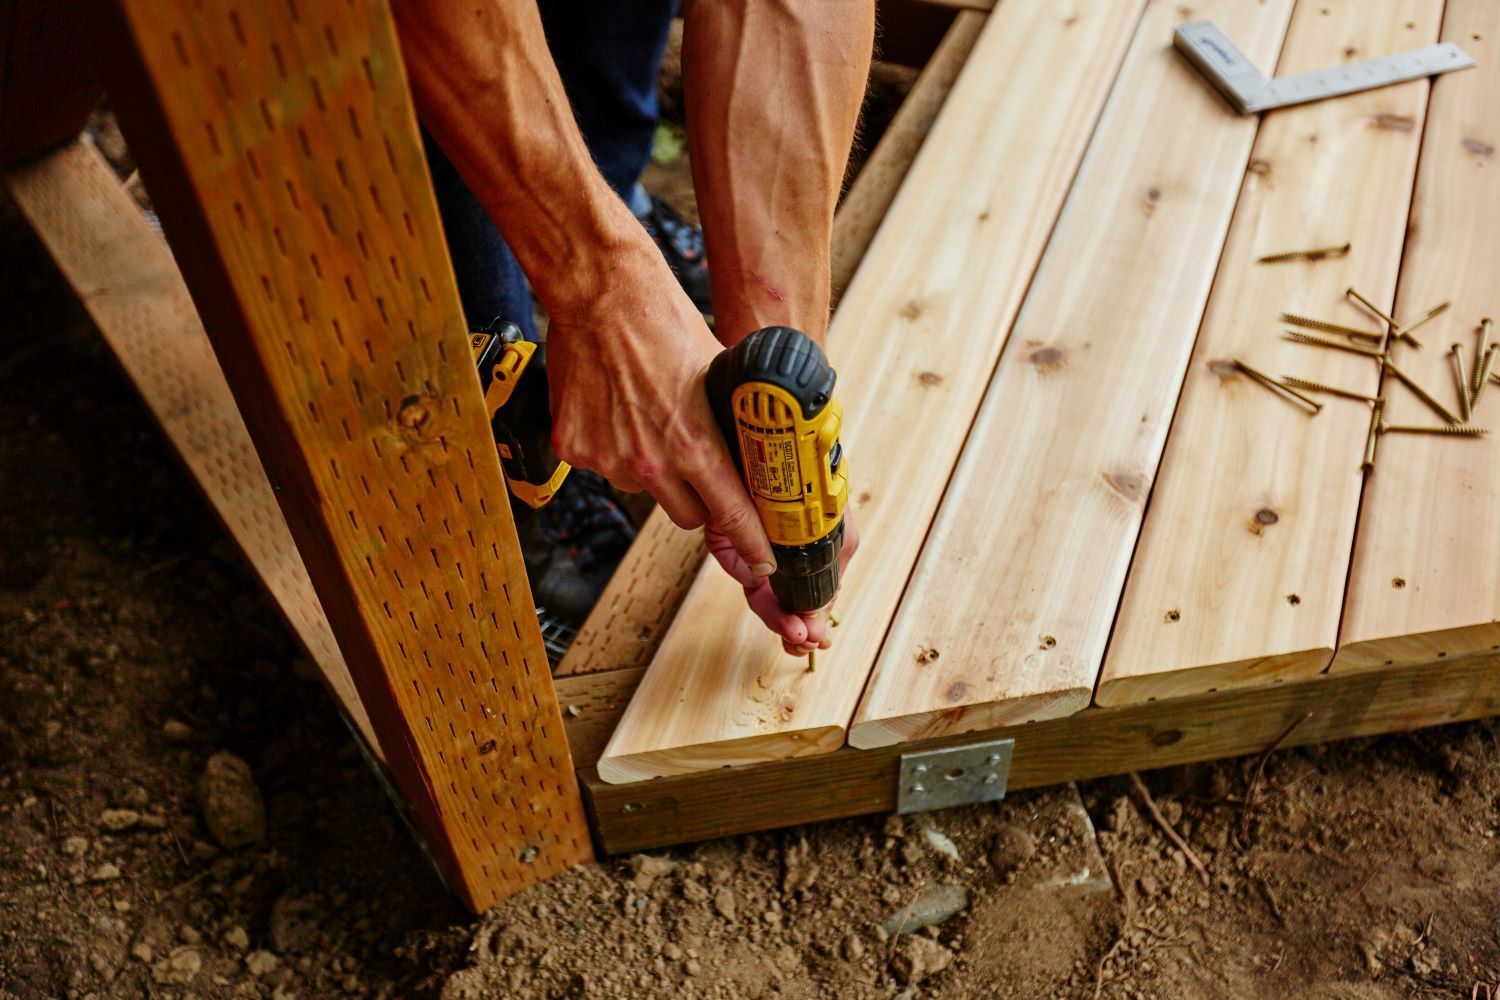
4. Install the Replacement Boards
Place the replacement boards onto the deck frame, ensuring they are aligned correctly with the existing boards. Secure them with deck screws or nails, making sure to countersink the screws for a smooth finish. Space the screws or nails evenly along the board to ensure a secure fit.
5. Check for Level and Stability
Once the new boards are in place, check for level and stability. Use a carpenter's square to ensure the boards are properly aligned. Step on the boards to make sure they are securely fastened and don't move.
6. Sand and Finish
If the replacement boards are rough or have splinters, sand them down to create a smooth surface. You may also want to apply a wood sealant or stain to match the rest of the deck and protect the new boards from moisture and UV damage.
Additional Deck Repair Tips
1. Inspect the Deck Frame
While replacing the boards, take the opportunity to inspect the deck frame for any signs of damage or decay. Address any issues with the frame to ensure the longevity and safety of your deck.
2. Replace Rusty Hardware
Check the screws, nails, and other hardware on your deck. Replace any that are rusty or corroded to prevent further damage and ensure the stability of your deck.
3. Regular Maintenance
Perform regular maintenance on your deck to keep it in good condition. This includes cleaning, sealing, and inspecting the deck for any signs of damage.
When to Call a Professional
While replacing a few deck boards is a manageable DIY project for many homeowners, some situations may require professional assistance:
- Extensive Damage: If your deck has extensive damage or structural issues, it's best to call a professional.
- Complex Repairs: For complex repairs, such as replacing large sections of the deck or addressing underlying structural problems, professional expertise ensures the job is done correctly and safely.
- Time and Convenience: If you don't have the time, tools, or experience to handle the repairs, hiring a professional can save you time and ensure high-quality results.
Conclusion
Replacing deck boards and repairing your deck can significantly improve the safety, appearance, and longevity of your outdoor space. By following these steps and performing regular maintenance, you can keep your deck in excellent condition for years to come. At Deck and Fence London, we offer expert deck repair and replacement services to help you maintain a beautiful and functional deck.
Contact Deck and Fence London today for professional deck repair services and to learn more about how we can help you with your deck maintenance needs.
Deck and Fence London is your local expert for all deck and fence needs in London, Ontario. From repairs to new installations, we are dedicated to delivering high-quality services to enhance your outdoor living spaces. Visit our website or call us for more details.